All examples can be found in example folder of the PhyloSuite root folder or downloaded from https://raw.githubusercontent.com/dongzhang0725/PhyloSuite/master/example.zip or http://phylosuite.jushengwu.com/example.zip (China).
1. PhyloSuite installation
Please see https://dongzhang0725.github.io/dongzhang0725.github.io/installation/.
2. Install plugins
Please see https://dongzhang0725.github.io/dongzhang0725.github.io/PhyloSuite-demo/how-to-configure-plugins/.
3. Run the test
Here I use 31 marine turtle mitogenomes as an example. For the original paper see https://www.sciencedirect.com/science/article/pii/S1055790312002242#t0005.
3.1 Import mitogenomes
- Select any of the work folders (here I chose
files); - Click
Open file(s)/Input ID(s)to open the input window; - Click
Choose Filesin theInput by filesbox; - Go to PhyloSuite root folder, open the
testsfolder, then choosemarine_turtle_mitogenomes.gb; - Click
Opento import.
3.2 Gene extraction
- In the main interface, choose
fileswork folder, select all sequences; - Right-click and choose
Extractto enter the extraction interface; - Select the predefined
Mitogenomeas the sequence type; - Select
2 Vertebrate mitochondrial code; - Click to rename the output dir name as
test_run; - Click
Startto extract.
3.3 Phylogenetic workflow
3.3.1 Choose workflow
- Click
Flowchartin the menu bar; - Choose
Test runin theWorkflowmenu;
3.3.2 Input file and parameter setting
Only the first program needs an input file, so click the red
Input file hereto open the MAFFT program window;Click the file input box of MAFFT to view the automatically prepared input files (you may opt to use a different file via
No, thanks);Select the results that you extracted in section 3.2 (
test_runinextract_results);Click
Okto import.
Tick
Extract-Seqoption and then tickPCGs, and the nucleotide sequences of protein-coding genes will be imported automatically;To speed up the test, you may pop-up the files menu and remove all files but ‘nad3.fas’, ‘nad4L.fas’ and ‘nad6.fas’ files (using the
remove button[red x sign]);Select
2 Vertebrate mitochondrial code;Just close the window to save the imported files and parameters.

3.3.3 Start workflow
- Click the
Check | Startbutton, and the parameter summary window will pop up, allowing you to check and modify the parameters; - Click
Ok, startto start the workflow.
3.3.4 Get workflow results
When all the tasks are finished, click Ok to view the results, double-click the folders in the list of results box to open the corresponding results: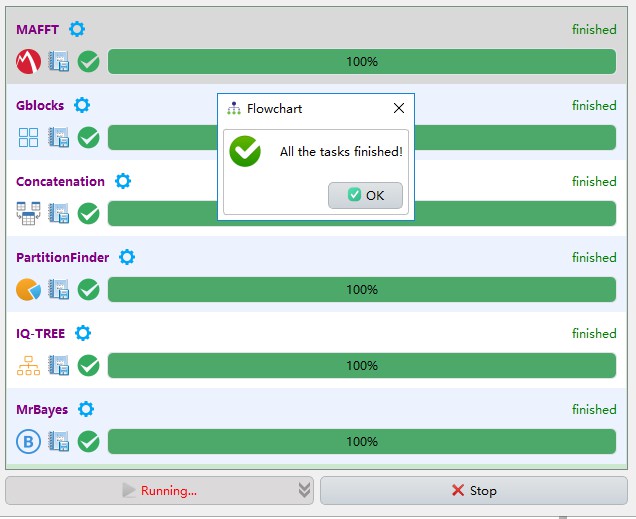

Scroll to the bottom of the results, and you will see that the whole workflow takes around 3 minutes (CPU: AMD Ryzen 7 1700; RAM: 8 G; OS: Windows 10 64 bit).
Note: to make this ‘test run’ very fast, I set a very low number of generations for MrBayes (10000) and IQ-TREE ultrafast bootstrap (5000).
4. Test run of each function
You may view a brief demo and/or test for each function via the inbuilt question mark button. For example:

5. Recommended reading
Other demo tutorials can be found here.